
Why the custom jewellery process is worth understanding
Why read about the process before you commission a piece? You probably want to know what happens between your first idea and the finished jewellery, and what you will be asked to decide. This guide walks through each stage in order, so you can see the whole journey before you start.
The custom jewellery process, stage by stage
Step through the journey from first idea to finished piece and see what each stage produces.
- The brief
- The designer must know which mounting will protect the stone while still showing off its beauty. To choose, they need to know about the stone and how the piece will be worn.
- The concept sketch
- Work can begin with a rough concept sketch, which is then turned into a digital 3D model. If you are shown a sketch, it is a chance to say what feels right and what doesn't.
- The CAD model
- The piece is designed as a 3D object on a computer, so it can be seen from every angle. The CAD file can be copied, changed and saved as often as the designer likes.
- The printed model
- In jewellery, 3D printing is mostly used to make a model that will be cast, in a material that behaves much like wax during casting. Resin prototypes of the CAD model can also be printed.
- Casting the metal
- Casting has three steps: investing, burnout and casting. The pattern is surrounded with mould material, the wax is removed to leave a hollow mould, and molten metal is poured in. Several models can be attached to a sprue tree and cast together in one flask.
- Setting the stone
- The setting is where the stone meets the metal. If a fragile stone must go in a ring, a protective style such as a bezel reduces the risk.
- Finishing and polish
- After casting, the sprue is cut off, filed and sanded smooth, and the piece is then polished. When you receive it, compare it with what you approved.
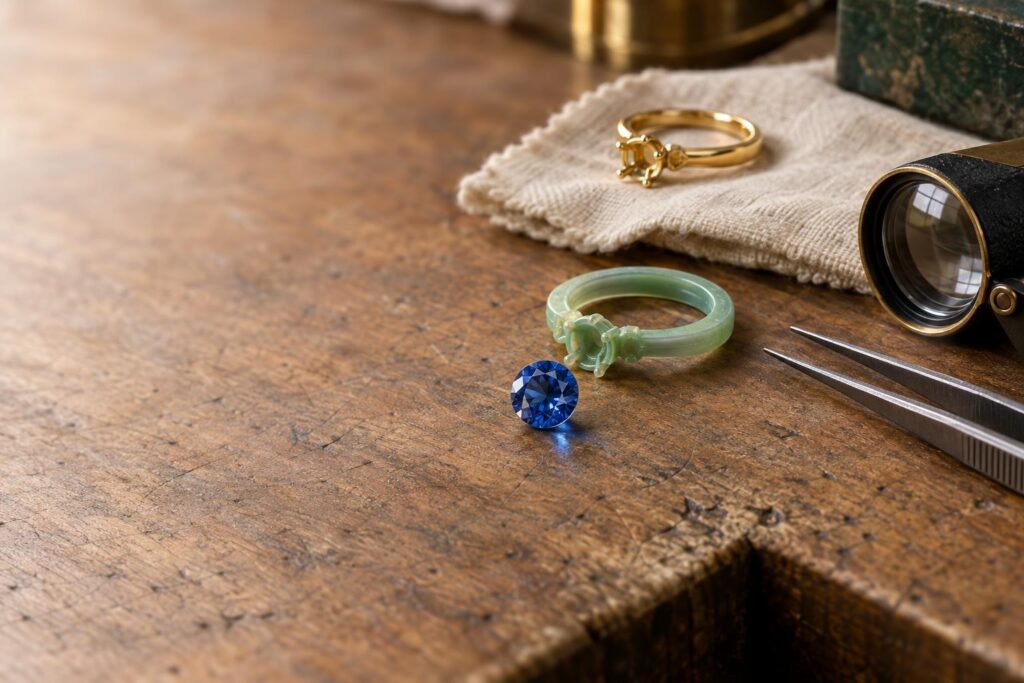
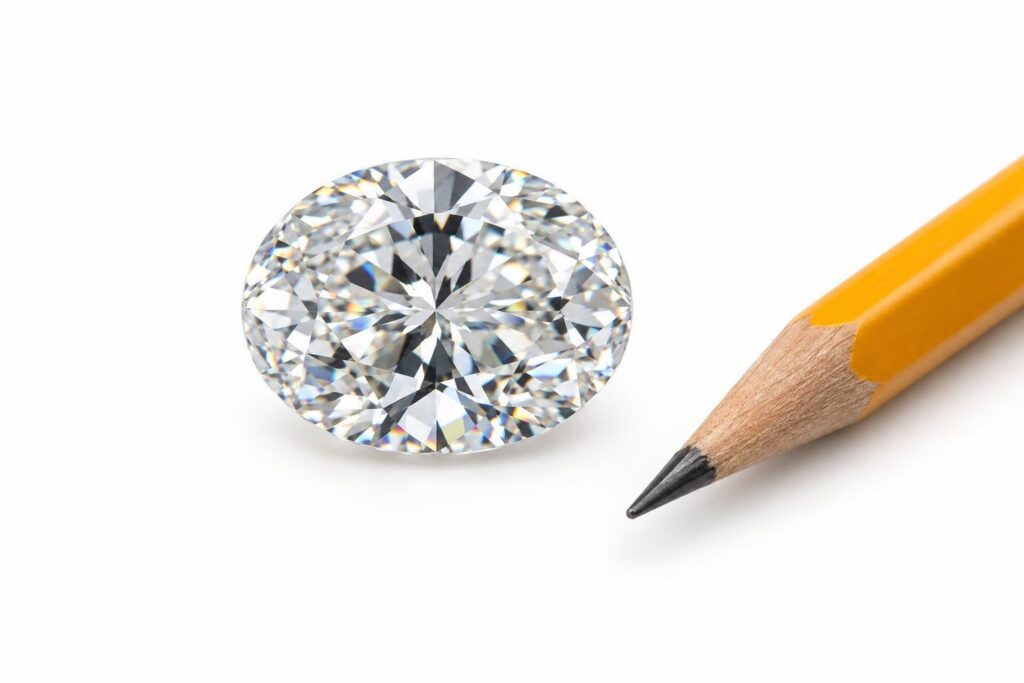
The pictures show one typical route. Jewellers differ in which stages they use and in what they show you, so ask what to expect. Pictures: AI-generated illustrations, checked for accuracy. They are not photographs of a real piece.
How is a custom piece made? Making jewellery by investment casting (pouring molten metal into a mould made from a model) is a multi-stage process, from the first idea to the finishing of the piece. Any carelessness during the stages can cause a defect in the finished product 5. This guide follows those stages one by one.
- The brief: what you can share at the start.
- Sketches and CAD (computer-aided design): how the idea becomes something you can look at.
- Material and stone choices: how they connect to the design.
- Checking the design: what to look at before making begins.
- Casting, setting and finishing: how the design becomes metal and stone.
Why the brief comes first
Why start with a brief rather than a drawing? The designer must know which mounting will protect the stone while still showing off its beauty 4. To make that choice, a designer needs to know about the stone and how the piece will be worn.
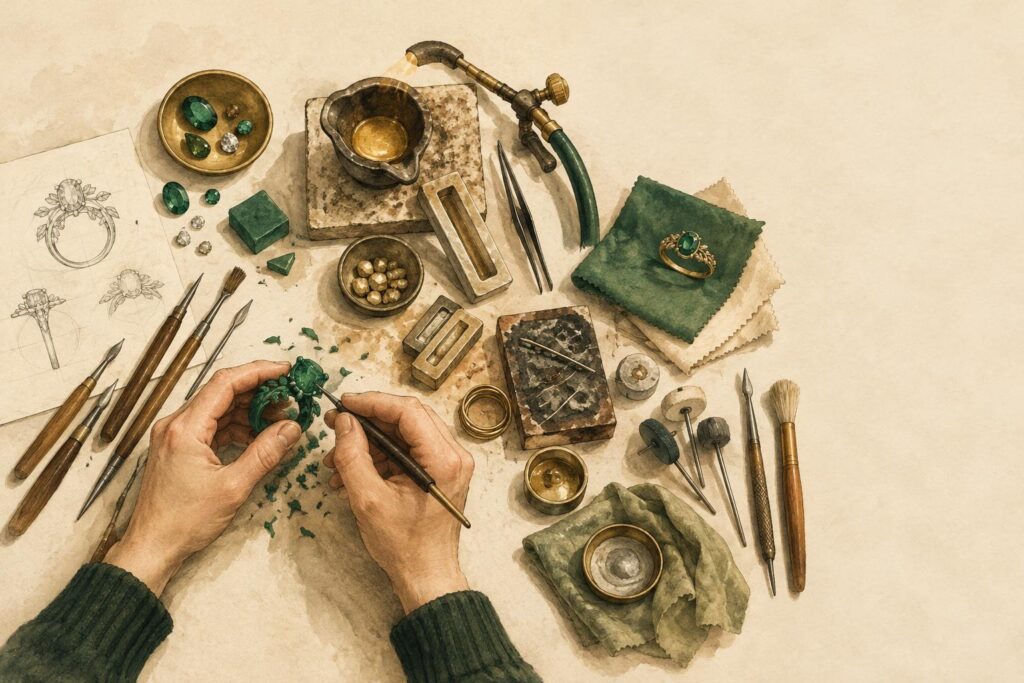
How does a design take shape? GIA’s journal Gems & Gemology describes two main ways: design the piece first and then find stones to fit, or custom-make the piece around a particular stone. The article links the second route with fragile or unusually cut stones 4. So if you already have a stone, mention it at the start.
What could you prepare? These questions are worth thinking about before a first conversation:
- What kind of piece is it: a ring, pendant, earrings or something else?
- Who will wear it, and how often: every day or for special occasions?
- Do you already have a stone, or does one need to be found?
- Which styles, shapes or pictures do you like, and which do you dislike?
- If it is a ring, what is the wearer’s size? The Ring Size Converter compares the different sizing systems.
- What budget are you working to? The Engagement Ring Budget Planner can help you think it through.
Why does daily wear belong in the brief? Rings take much harder wear than any other type of jewellery, so the durability of the stone matters more in a ring 4. Telling the designer how often the piece will be worn puts that fact on the table.
Why sketches and CAD let you see the piece before it exists
Why go through drawings and models at all? They let the design be seen from every angle and changed before it is made. CAD files can be copied, changed and saved as often as the designer likes, so variations are easy 1.
Why a sketch can come first
Why might you see a sketch? In one study of investment casting for 3D-printed jewellery, the work began with a rough concept sketch, which was then turned into a digital 3D model 5. If you are shown a sketch, it is a chance to say what feels right and what doesn’t.
How CAD turns the idea into a 3D model
Why does a 3D model help? CAD/CAM is a two-part process. First, the piece is designed as a 3D object on a computer (CAD). Then a computer-controlled machine makes it (CAM, computer-aided manufacturing). The 3D model can be turned and examined from any angle, and even weighed before it is made. CAD can also work with rendering software to produce photo-realistic images, called renders, of the piece before it exists 1.
How easy is it to change? With CAD, changes can be made with a few mouse clicks and a new model printed on demand. 3D printers produce resin prototypes (test models) of the CAD design that can easily be cast 2. Ask whether you will see renders only, or a printed model too.
Why material and stone choices shape the design
Why do the stone and setting belong in the design conversation? Durability is the most important factor in designing, setting, repairing or cleaning jewellery. Durability is a stone’s resistance to scratching (hardness), breaking (toughness), and damage from heat, light or chemicals (stability) 4. You can read more in The Mohs Scale Is Not the Whole Durability Story.
How does this affect your choices? The same GIA article points to pendants, earrings, brooches and rings for occasional wear for fragile gems such as topaz, tanzanite and pearls. If a fragile stone must go in a ring, a protective style such as a bezel reduces the risk 4. Our post on gemstones for everyday rings goes further.
What does the setting do? The setting holds the stone securely, and it also shapes the ring’s look, how light reaches the stone and how well it wears 3. Common options include:
- Prong (claw) setting: small metal claws hold the stone. It lets in the most light, but the prongs should be checked from time to time and can catch on fabric.
- Bezel setting: a thin rim of metal surrounds the stone’s edge, protecting it well against chips and everyday wear.
- Flush setting: the stone sits level with the band’s surface. It is very durable but lets in less light.
Metal and diamond type each have their own guides. See 9ct vs 14ct vs 18ct gold, White Gold vs Platinum and, for a natural or laboratory-grown diamond, Natural vs Lab-Grown Diamonds. For settings in pictures, see Ring Settings Explained.
Why you check the design before it is made
Why check so carefully at this point? Before production, variations are easy to make in the CAD file. When the virtual model is finished to the designer’s satisfaction, the CAD file can go to a CAM machine for production 1. Before that happens, ask your jeweller what you will be asked to approve, and how.
What could you check? Look at the model or render from every angle and go through each detail:
- the size and position of every stone;
- the proportions, band width and band profile;
- the setting style, and whether it suits how the piece will be worn;
- the ring size, in the system used where you live;
- any engraving, letter by letter;
- whether the design can be resized later. Our post on ring resizing explains why some rings can’t be.
At Ralph Jacobs, we design and make rings to order. You approve the design (a CAD render), stone, size and engraving in writing before we start, and the render is a visual guide, not an exact photo. If you’d like to talk an idea through, we offer a free consultation, online from anywhere at bookings.ralphjacobs.org, or by WhatsApp.
Why casting and setting need care
Why read about casting? It is where the approved design becomes metal. In jewellery, 3D printing is mostly used to make a model that will be cast, in a material that behaves much like wax during casting 2.
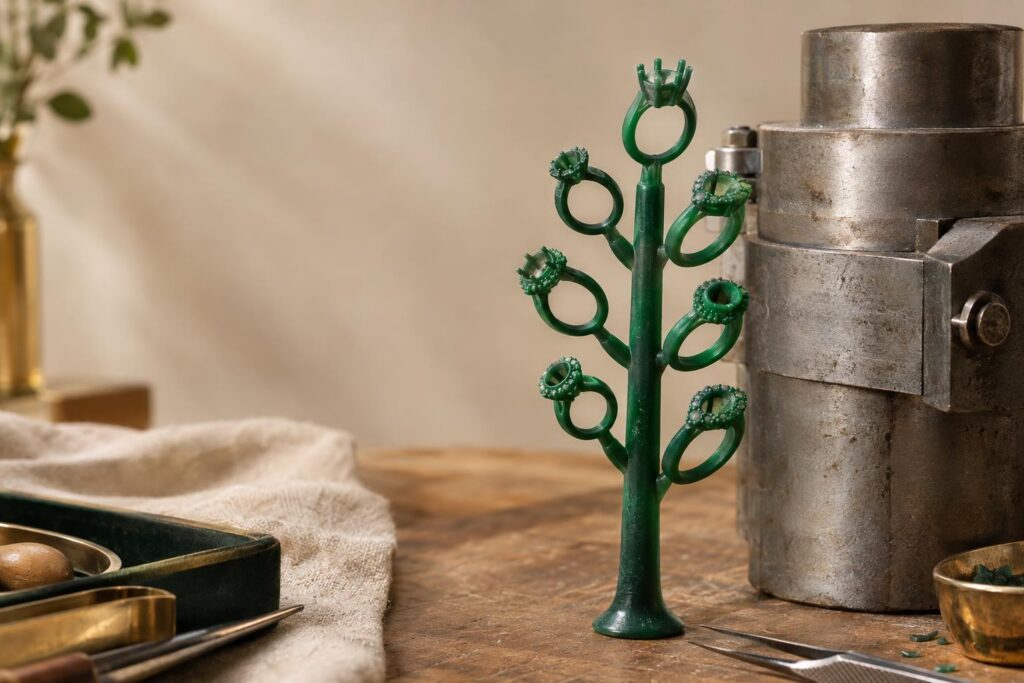
How is the metal cast? Once the wax-like model (the pattern) is made, casting has three steps 5:
- Investing: the pattern is surrounded with a mould material.
- Burnout: the wax is removed, leaving a hollow mould.
- Casting: molten metal is poured into the mould.
Several models can be attached to a sprue tree (a central stem of channels) so they are cast together in one flask 5. The setting is where the stone meets the metal. A ring setting has three main parts: the head, which holds the stone; the shoulders; and the shank, which is the band 3.
How is the stone set? The setting is what holds the stone securely in the metal 3. In a prong setting, small metal claws hold the stone; in a bezel setting, a thin rim of metal surrounds its edge; and in a flush setting, the stone sits level with the band’s surface 3. GIA’s quality benchmarks for platinum jewellery include setting among the stages they cover 6.
What does the setter actually do? For a prong setting, the setter first cuts a small seat, called a bearing, into the prongs so the stone sits level and the metal fits its outline closely. Any gap in a bearing could let the stone move or loosen 7. The prongs are then pressed over the stone. Because metal tends to spring back, the prongs are moved in two directions until the stone is tight and the prongs are evenly spaced around it 8.
How is the setting checked? Each piece should be inspected against set benchmarks, such as how far the prongs reach over the stone, to find weak points before it is worn 7. When you collect the piece, you can ask how the stones were secured and checked.
Why finishing affects how the piece looks and lasts
Why is finishing more than a final polish? How long a ring lasts depends on careful design, precise craftsmanship and high-quality finishing together 3.
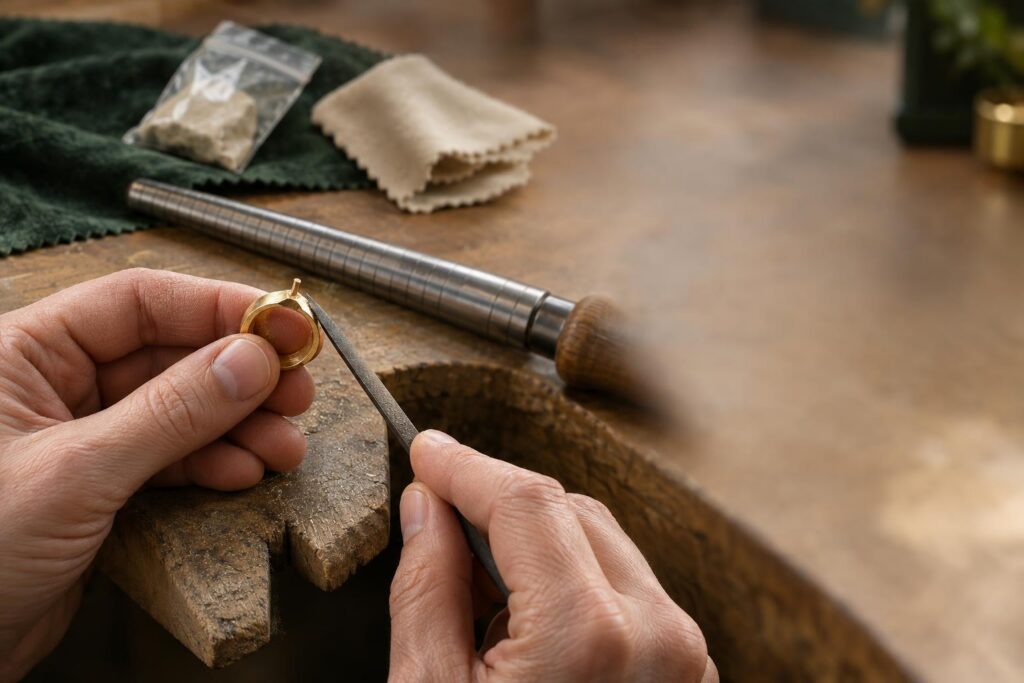
How is it done? After casting, the sprue is cut off, filed and sanded smooth, and the piece is then polished 5. For platinum jewellery, GIA’s quality benchmarks split finishing into prefinishing, finishing, polishing and buffing. The same benchmarks also cover ring sizing, assembly and setting 6. When you receive the piece, compare it with what you approved.
Why ask about the decision points up front
Why ask early? The points where you choose or approve something are set by your jeweller, and asking at the start makes them clear. These questions can help:
- Will I see a sketch, renders, a printed model, or more than one of these?
- When do I choose the metal, the stone and the setting style?
- What exactly do I approve, and is that approval in writing?
- What can still change after I approve the design?
- How will I check the finished piece against the approved design?
When a custom piece may not be the right choice
Why look at the downsides? A custom piece is one route among several. Knowing the trade-offs helps you weigh whether it fits what you need.
- The piece is not made in one step. Investment casting runs from first idea to finishing, and carelessness at any stage can cause a defect in the finished product 5. If you need jewellery straight away, that is worth weighing.
- You may judge the design from an image. Rendering software produces photo-realistic images of a piece before it is made 1. If trying on a finished piece before you decide matters to you, ask about a printed model, or weigh a ready-made piece.
- Resizing may be limited. Ask whether your design can be resized later; our post on ring resizing explains why some rings cannot be.
- Not every stone suits every design. A fragile stone may be suited to a ring for occasional wear rather than one worn every day 4.
If these points matter more to you than a design made to your brief, a finished piece is another route. The choice depends on what you value most.
Frequently asked questions
CAD lets the piece be designed as a 3D model that can be turned, examined from any angle and even weighed before it is made. It can also produce photo-realistic renders, so you can see the design first 1.
With CAD, changes can be made with a few mouse clicks and a new model printed on demand 2. Once the design has gone to production, ask your jeweller what can still be changed.
3D printers can produce resin prototypes of the CAD model, and these can easily be cast 2. Ask your jeweller whether a printed model is offered as well as renders.
Custom-making a piece around a particular stone is one of the two main ways to design described in GIA’s Gems & Gemology. The article links this route with fragile or unusually cut stones 4. Mention your stone at the very start of the brief.
A render is a photo-realistic image made by rendering software before the piece exists 1. Because it is made on a computer, ask your jeweller how closely the finished piece will match it and what the render can’t show.